Showing posts with label Cooking for Kids. Show all posts

Brian's Spicy Grilled Ribeye from The Chew

Sunday, June 30, 2013

So after a day of being famous, Brian and I decided to eat out for a night on the town.

Because we're super classy like that.

We went to BJ's Brewhouse for dinner where we both enjoyed a delicious enough pizza (mine hand tossed and covered in Basil and Brian's deep dish and way too spicy for my taste). We finished the meal with one of those stupidly good pizookie things. It's like a not quite completely cooked, still perfectly gooey in the middle cookie in a pizza pan topped with ice cream. It's pretty much heaven.

Then we took our 1-hit-wonder-famous-selves to see The Heat with Sandra Bullock and Melissa McCarthy. I laughed so hard that there was a point when Brian leaned over to me and told me that I was laughing really loud. There is a lot of profanity. But there is also a lot of slapstick comedy that was hilarious. Needless to say, the whole time we were in the theater, I was 100% entertained.

So that's how famous people roll.

And in case you missed it, we were on ABC's The Chew yesterday, which makes us famous for about 1 second.

It was a ton of fun, and my husband looked super hot. (Because he is super hot.) And he made a super hot steak. See what I did there?

So as promised, here is his delicious, and award winning, Spicy Grilled Ribeye and Rosemary Potatoes.


ingredients2 Rib Eye (bone in; 1 1/4-inch thick)
1/4 cup Olive Oil
1/2 teaspoon Cayenne
2 Garlic cloves
Salt
Pepper

instructionsFor the Steaks: Preheat outdoor grill. In a rimmed baking dish, whisk together olive oil, cayenne, garlic, salt and pepper.  Place steaks in marinade and flip to coat. Allow to sit at room temperature for 45 minutes.  Before grilling scrape off any large bits of garlic.
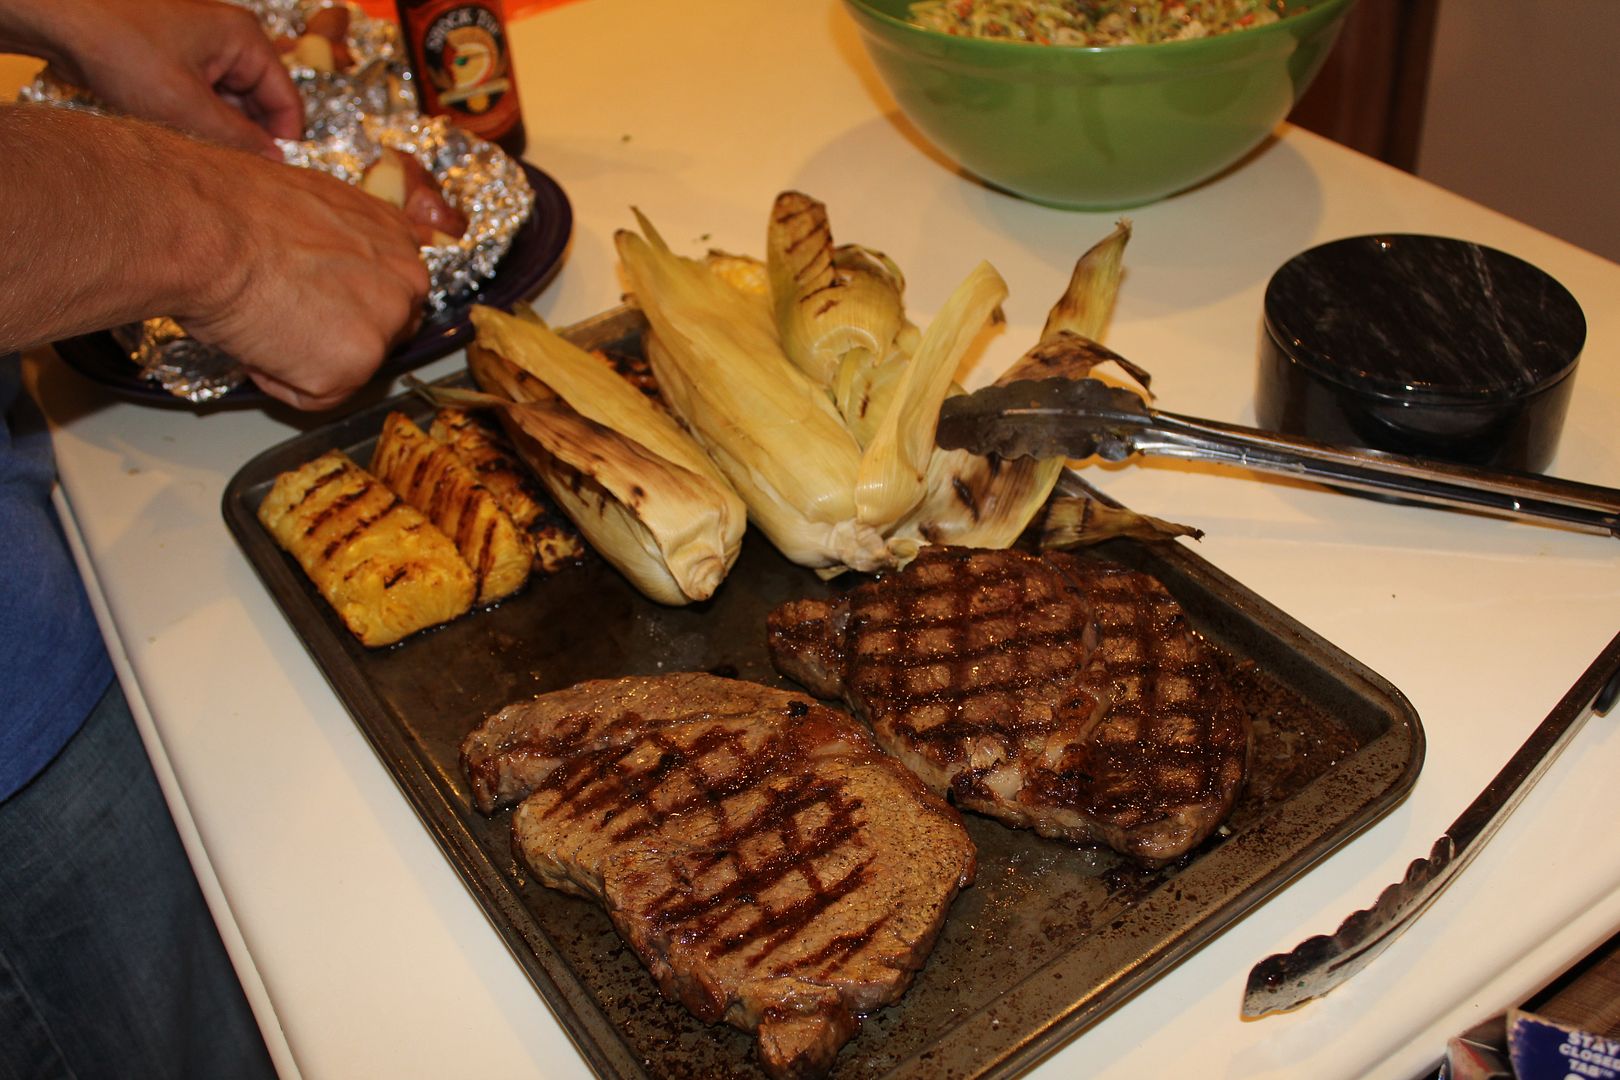


instructionsCook 4 to 5 minutes per side for medium rare.  Right before removing steaks from grill top with a pad of salted butter. 


ingredients5 Red Skinned Potatoes (1-inch cubes)
4 tablespoons Butter
Salt 
Pepper 
2 teaspoons Rosemary (chopped)

instructionsFor the Red Skinned Potatoes: Place potatoes in foil packet with a few pads of butter and season with salt and pepper. Seal and place on the grill.  Grill for 15 to 20 minutes. Halfway through cooking open packet and add the rosemary. Seal and continue to cook.  Once done, remove and serve along side steak.


So there you have it! Delicious steak and potatoes. What could be better?! 

You can find a printable version of the recipe by clicking here

You can see the full episode of the show we were on at thechew.com

Enjoy! 

I was on TV! and This is my Grilled Orange Chicken

Friday, June 28, 2013

Well that was super fun.

I'm not going to be critical, other than to say, it is not fair to have to be on national TV (probably the only time in my life) 6 months after having a baby. Not fair at all.

I kept looking at the screen thinking, "that's not what I look like." I'm living in a state of denial. But I won't be all negative. I was happy with it overall.

They edited out my cringe moment and decided to show a picture of my sweet family instead of me raising my arms in the air in post baby victory. Thank the Lord for that.

And I'm still not a fan of my hair color. I wish it would have been dark, but oh well.

It was such a fun day that I will only look back on it in fondness.

In the meantime, I'm going to lose 15 pounds and then call them back and ask them if they'd like to have me back so they can see what I normally look like. Ha! Probably not.

But I did just finish dragging the treadmill from the sunroom (full windows and no air conditioning) into the master bedroom (where a TV and air conditioner live together in harmony). That might help. I can't even walk across the sunroom without breaking into an instant sweat let alone run on the treadmill in there.

Plus the wifi signal in there is horrible which means that I can't watch Downton Abbey on my ipad while I'm running in the sunroom. (Not that I have recently run in there, but figuratively speaking, if I had tried to, my ipad would not have streamed my important TV shows.)

I know you don't care, but I just typed it, so there's no use in erasing it.

But I did think that since we were on TV today cooking, that maybe I should start posting of the delicious food we eat around here! Brian is really the cook in the house most days, and he's dang good at it too.

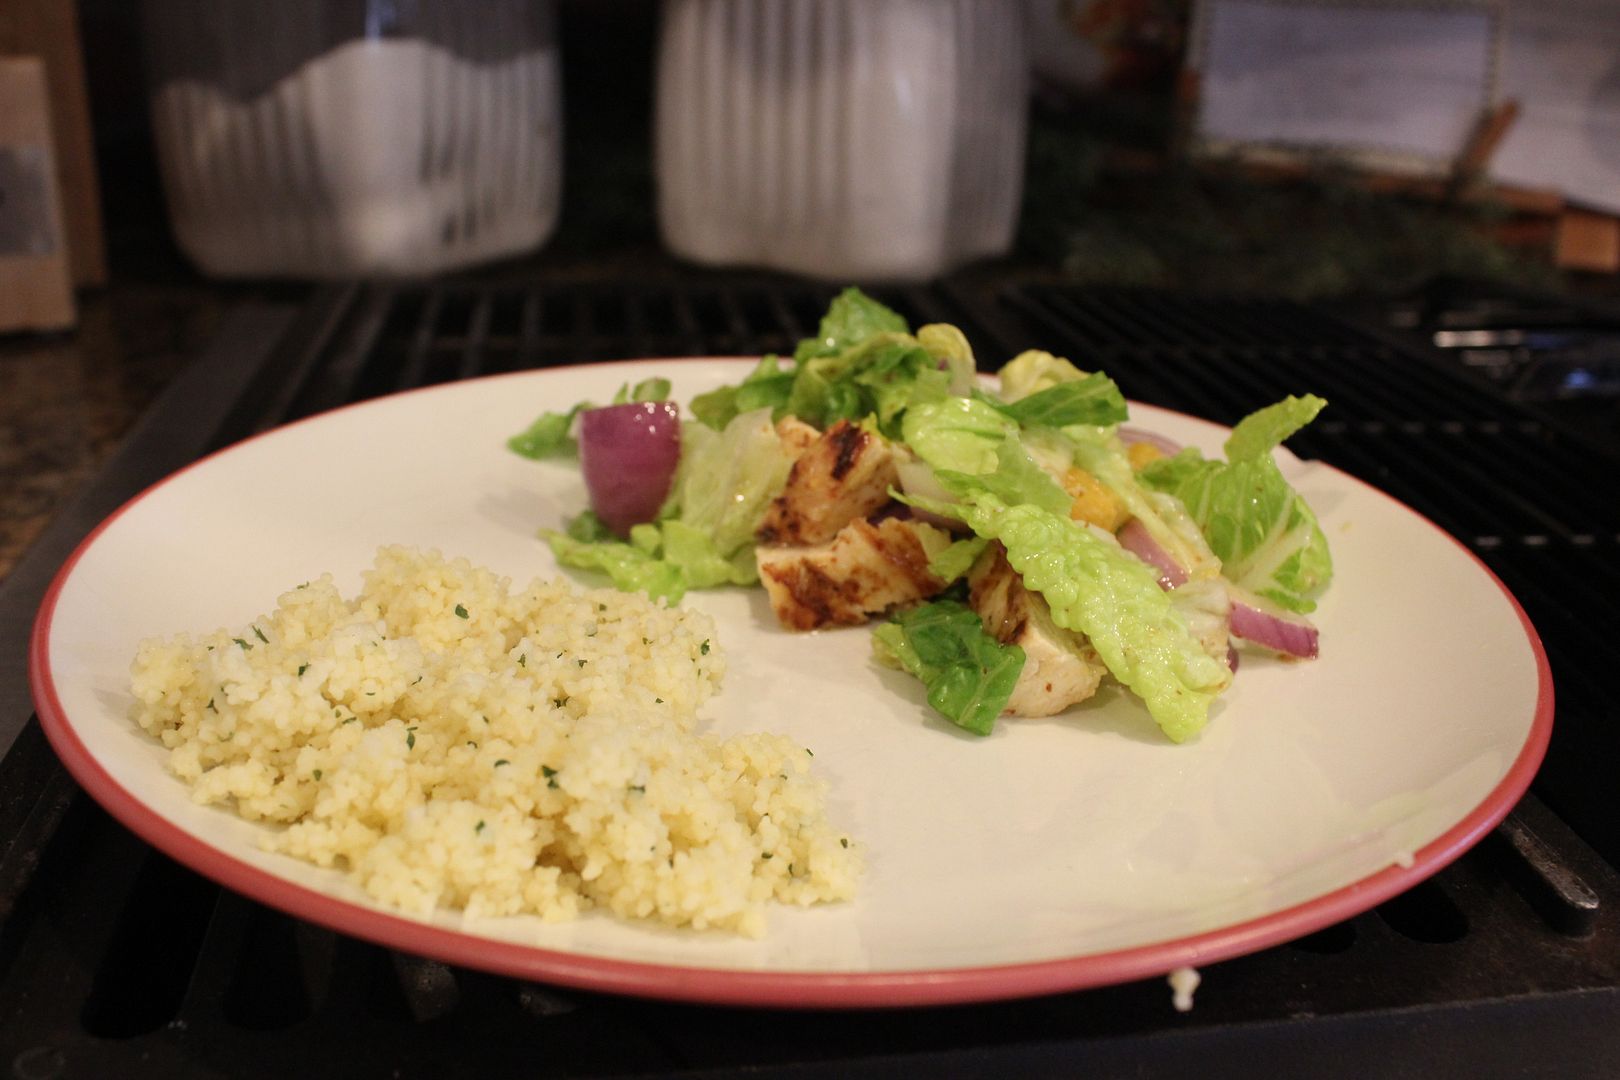
I used to post recipes a lot, and haven't in a long time. What better to start with than the delicious (even though it lost) Grilled Orange Chicken I made on the show?!

Here we go:


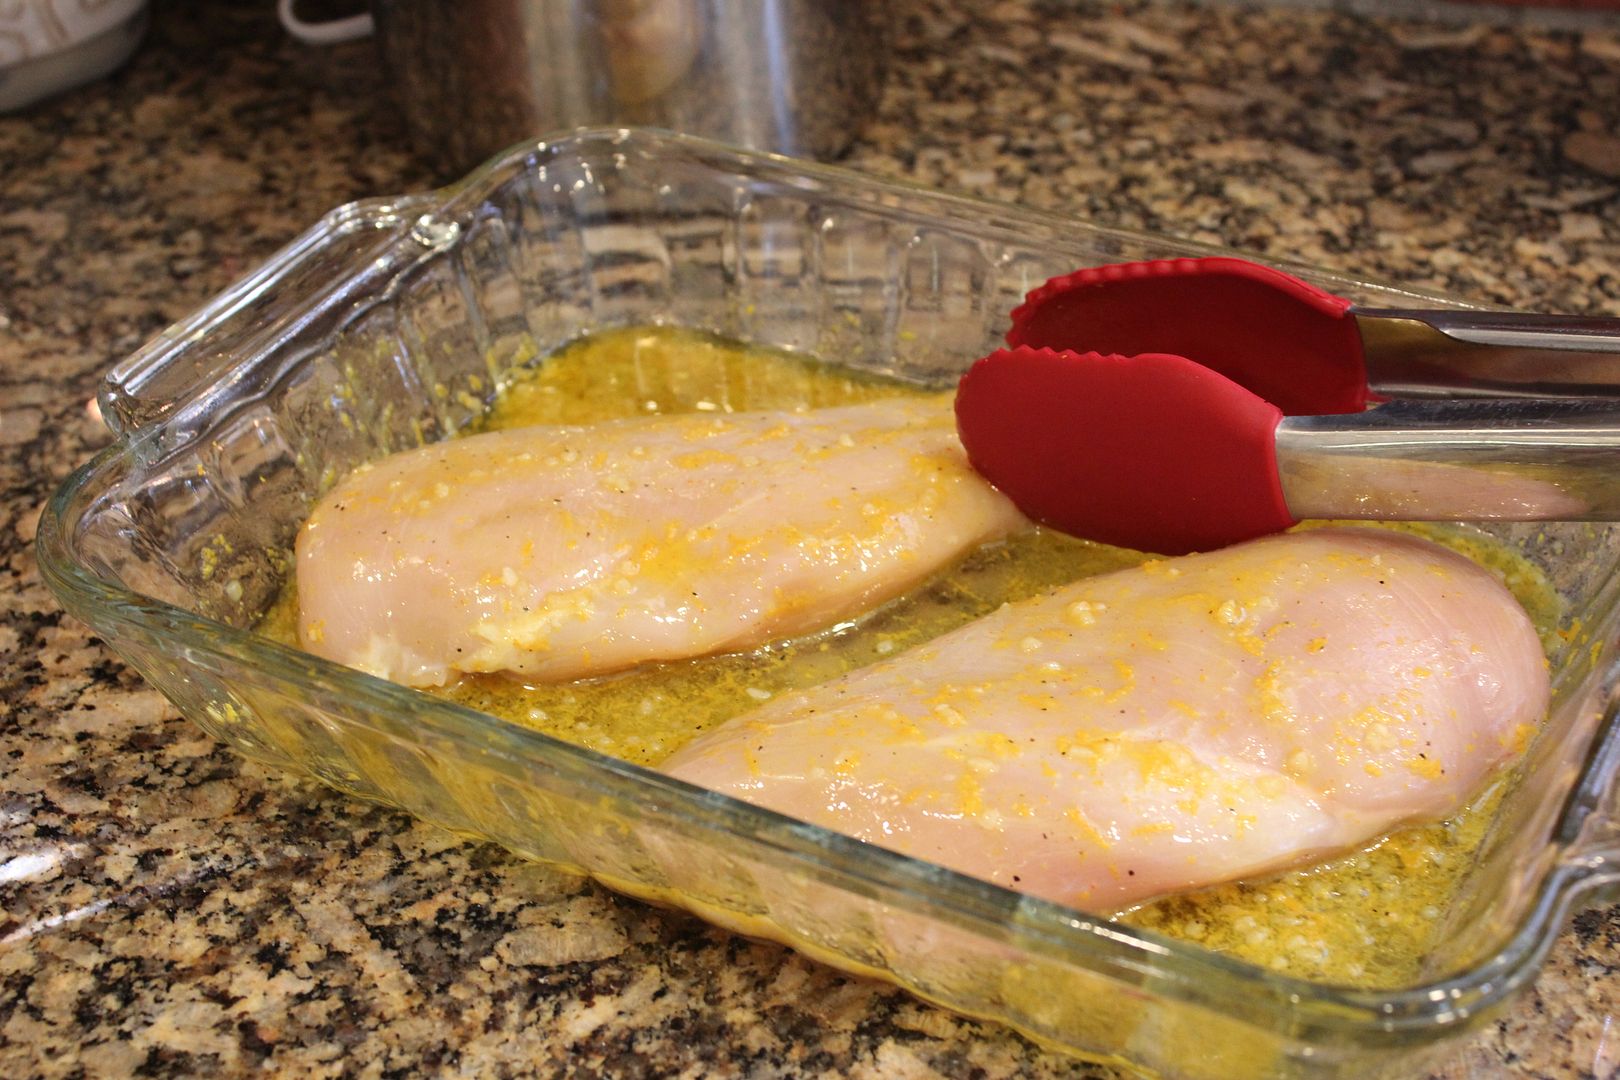
ingredients for the marinade1/2 cup Extra Virgin Olive Oil
1 Orange (zest and juice)
2 Garlic cloves (smashed)
Pinch of Cayenne Pepper
Salt and freshly cracked Black Pepper to taste
4 Chicken Breasts (boneless; skinless)


instructions
For the Chicken: Whisk together the marinade ingredients (listed above) in a rimmed baking dish. Add the chicken and turn to coat. Allow chicken to marinate for up to 30 mins at room temperature.


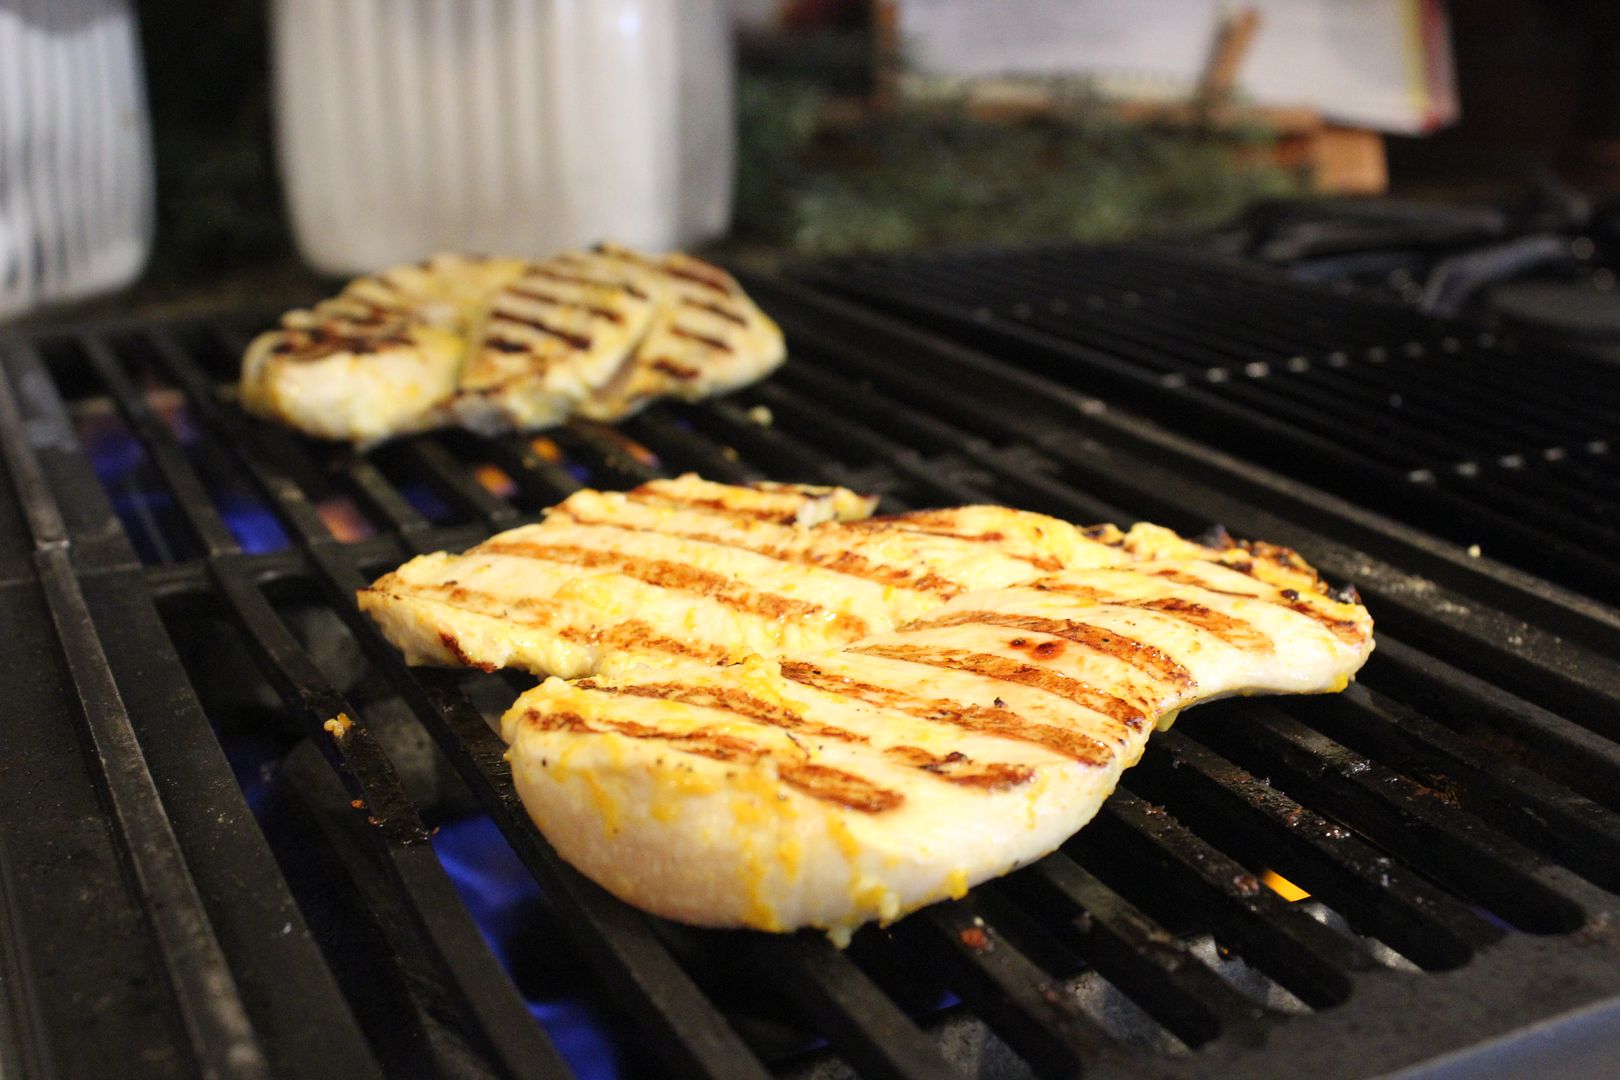
instructionsMeanwhile, preheat the grill to medium-high. Remove the chicken from the marinade and place on the grill. Cook for 3 to 4 minutes on the first side then flip and continue to cook for 3 to 4 more minutes. Chicken should register 160 degrees on a instant read thermometer when cooked. Remove from grill and serve with Orange and Romaine Salad


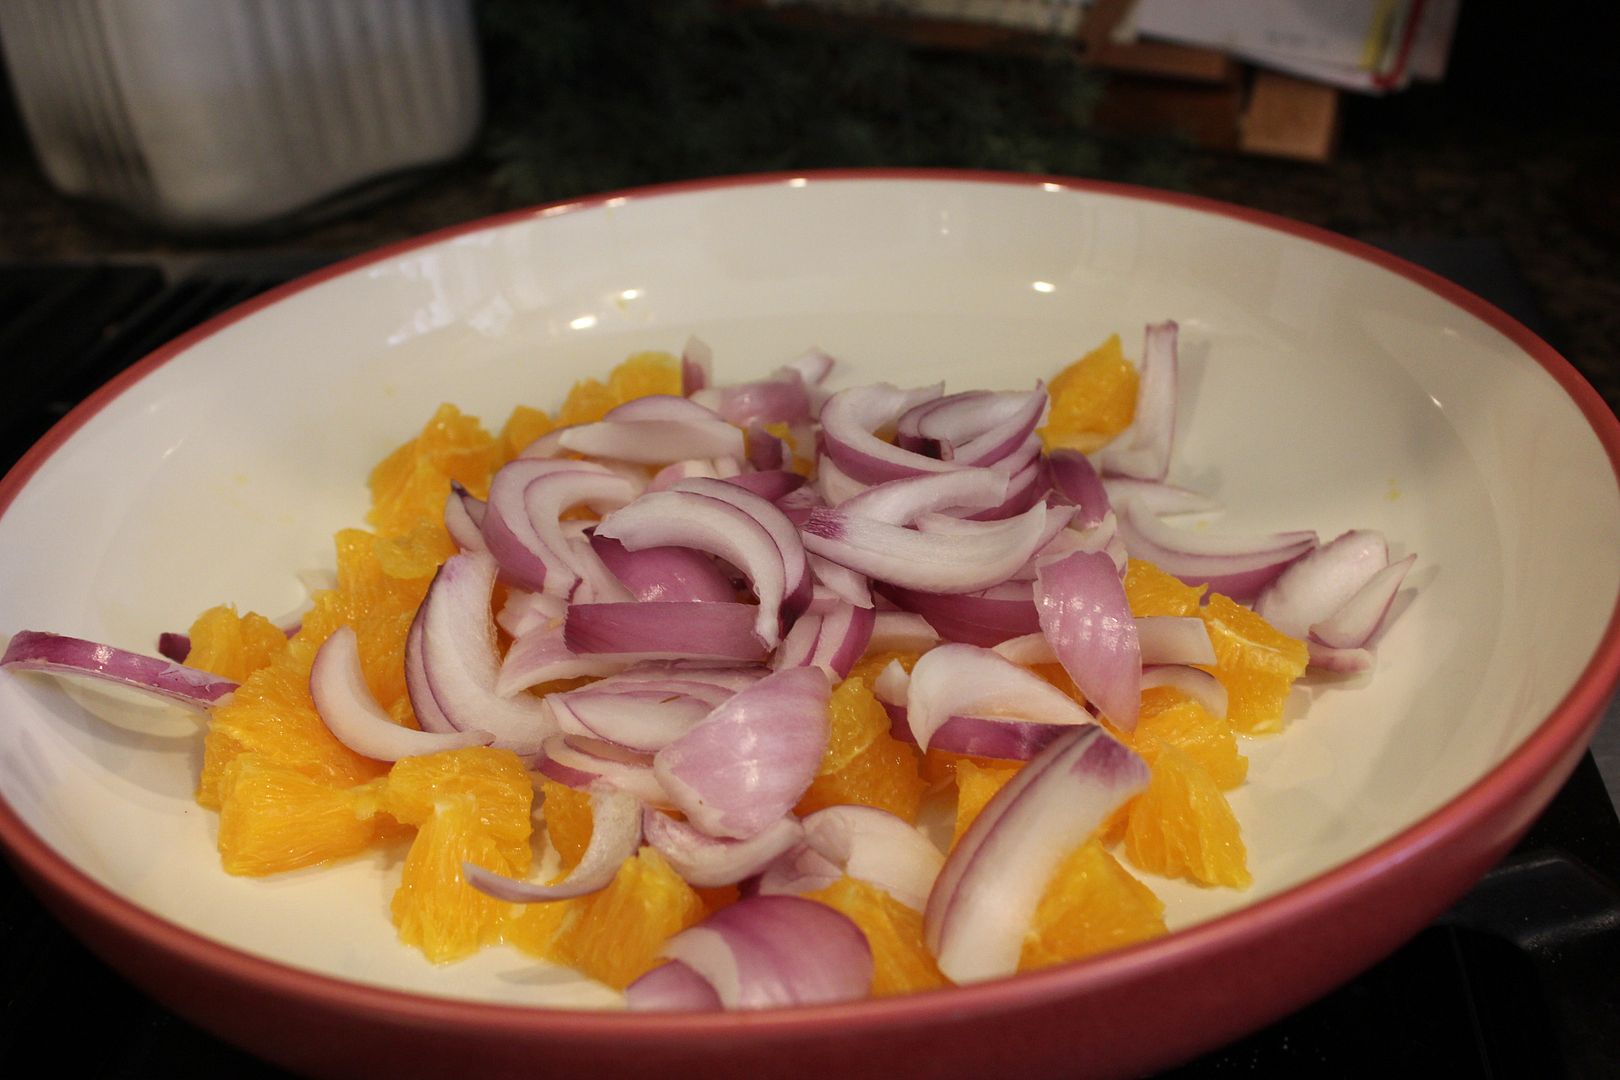
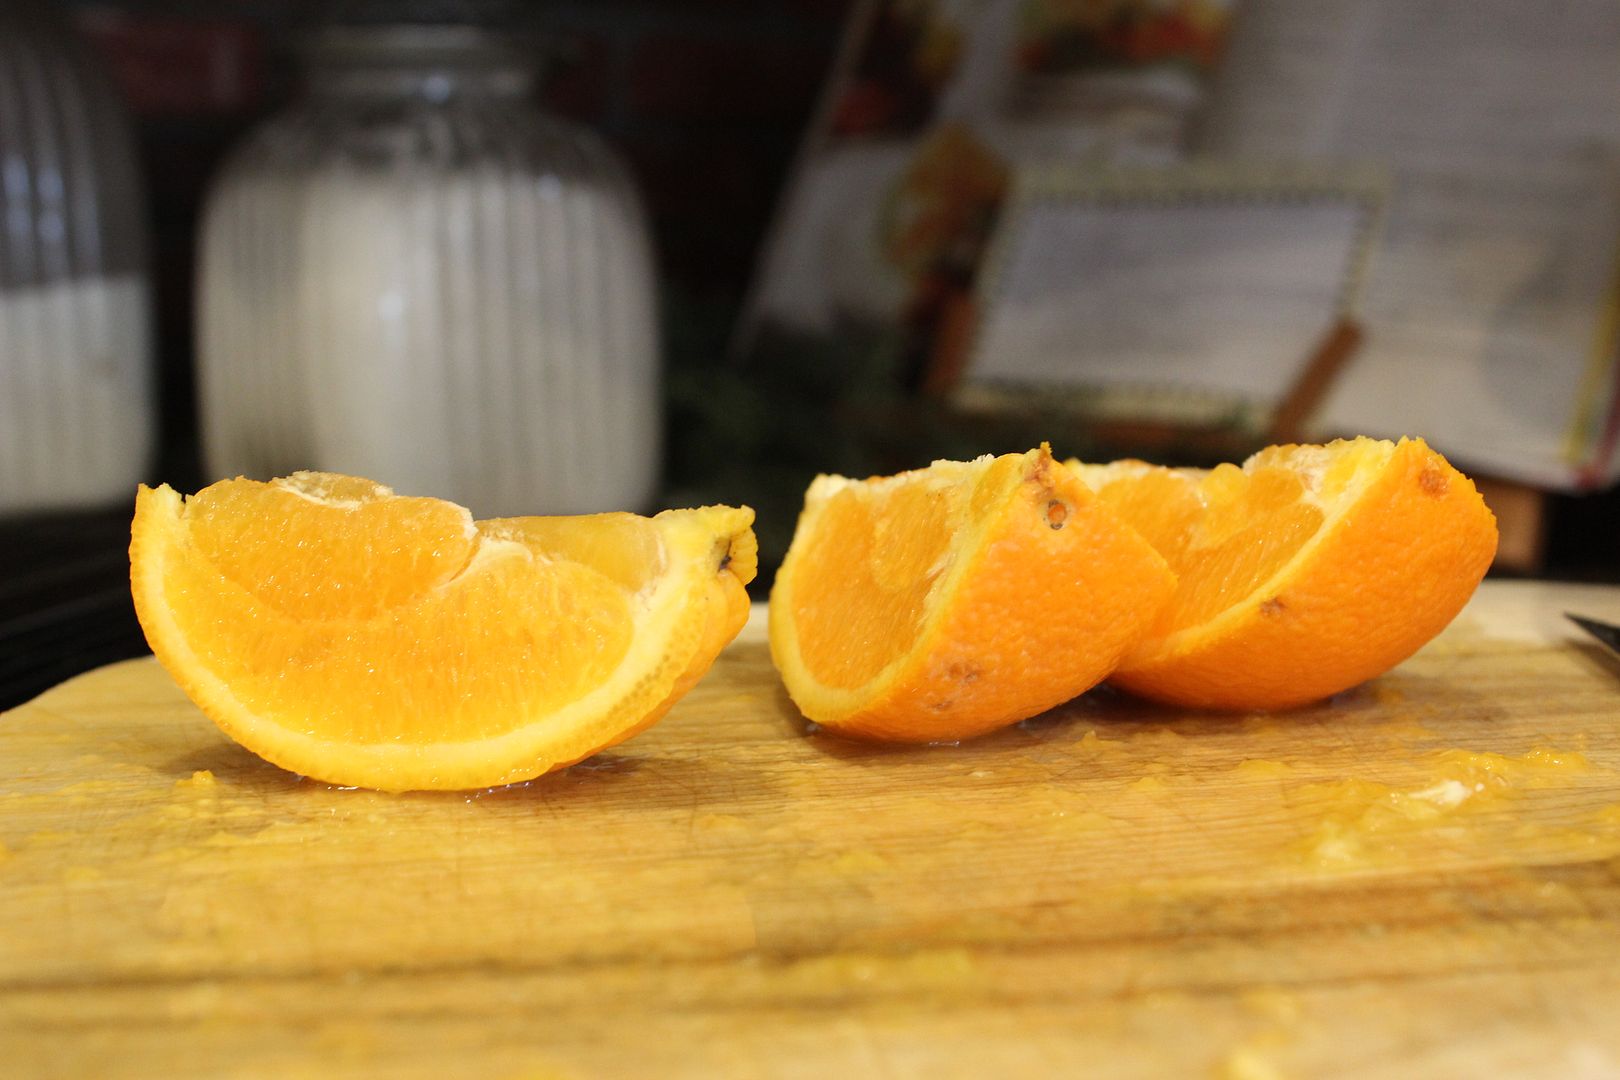
ingredients for the salad2 Oranges (segmented; reserve 1/2 orange to juice)
2 tablespoons Dijon Mustard
1 teaspoon fresh Oregano leaves 
2 tablespoons Honey 
1/2 cup Extra Virgin Olive Oil 
Pinch of Cayenne Pepper 
Salt and Pepper to taste 
1 Head of Romaine (chopped)
1/2 Red Onion (slivered)


instructionsFor the Salad: In a large bowl, whisk together the orange juice, Dijon, oregano, honey and olive oil. Season with cayenne, salt and pepper. Toss together the remaining ingredients with the dressing.


Helpful Tips:1. Depending on how much heat you like, use as much or as little cayenne pepper in the marinade and the salad dressing.
2. Don’t marinate chicken for more than 30 minutes or the citrus from the orange juice will start to break it down.
3. Try using pineapple in the salad instead of orange.

And that's it folks! That's how you make my Grilled Orange Chicken Salad! Enjoy! 
You can find a printer friendly version of this recipe by clicking here. You can also check out the episode online by going to thechew.com

Happy eating! 

    Resurrection Rolls

    Friday, April 6, 2012


    Luke came home from Mother's Day Out with this awesome recipe for Resurrection Rolls. You have to do it with your kiddos. It's a ton of fun.

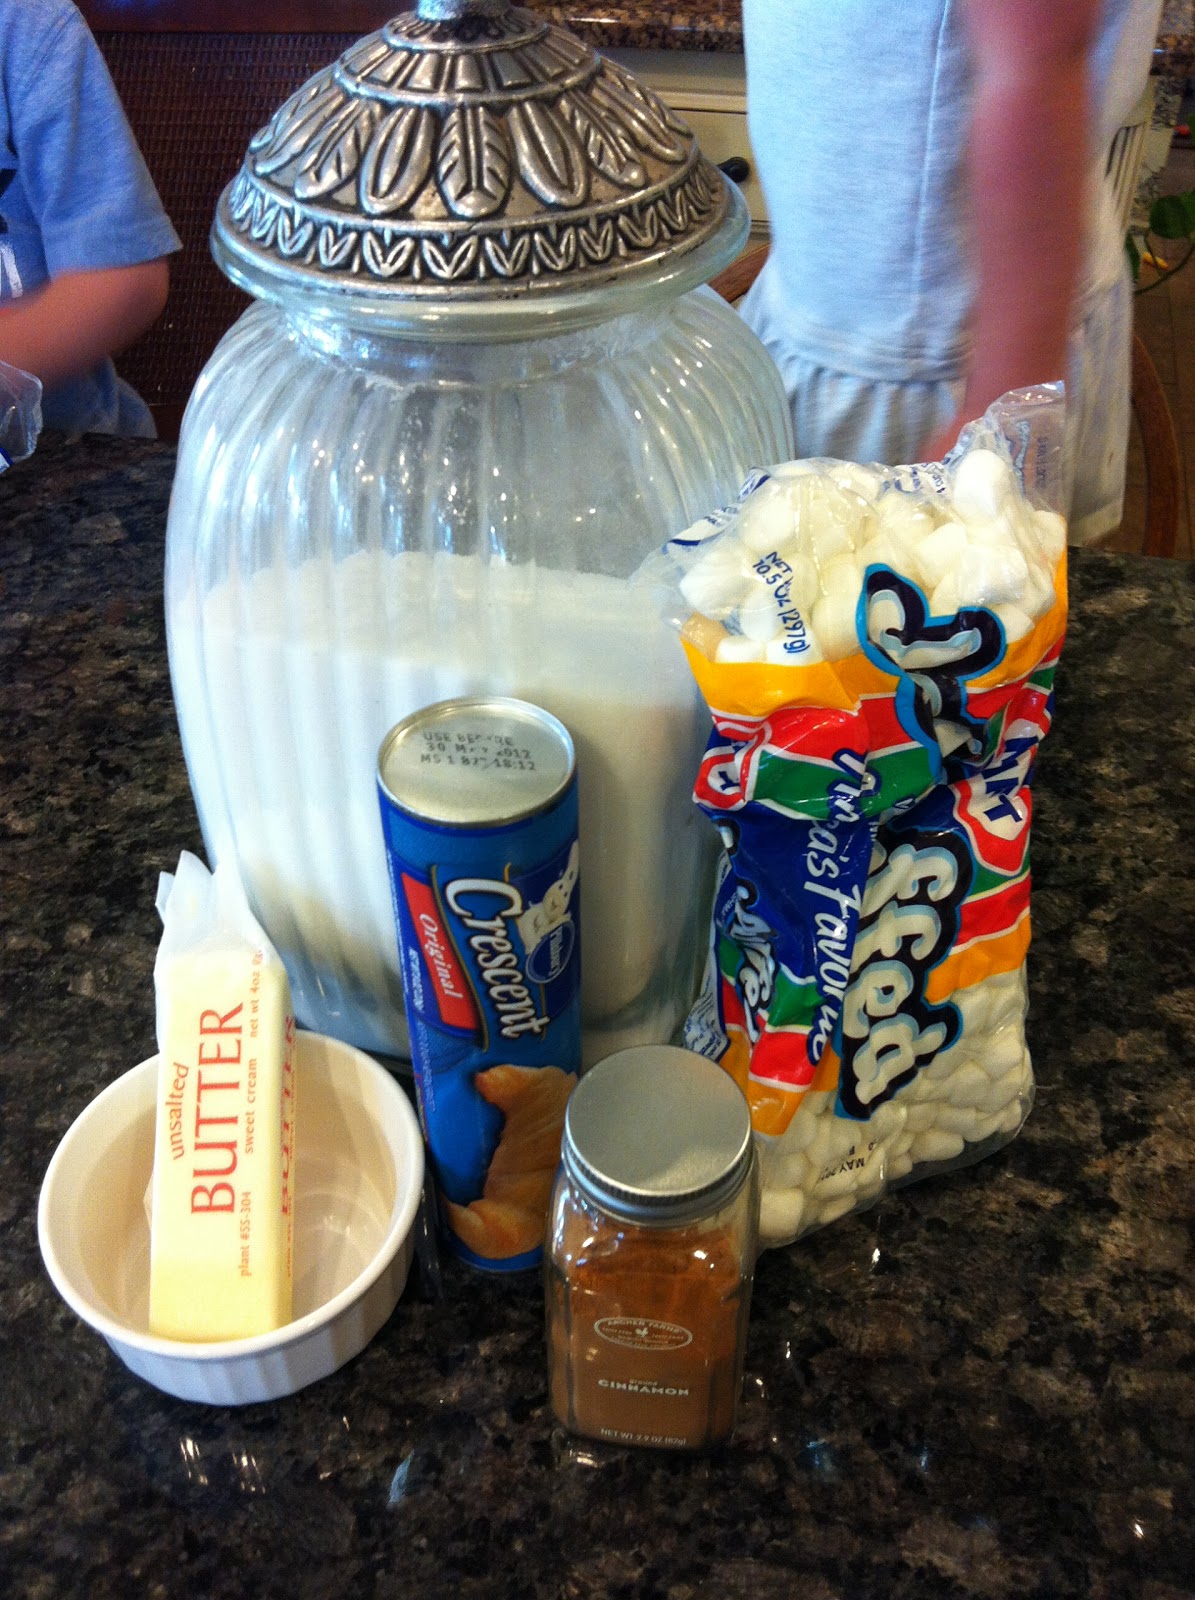
    Ingredients:

    • 1 can refrigerated crescent roll dough
    • 8 large marshmallows
    • melted butter
    • cinnamon
    • sugar


    Directions:

    1. Give each child one triangle shaped section of crescent roll. This represents the tomb.


    2. Each child takes one marshmallow which represents the body of Christ and dips it in the melted butter and then rolls it in the cinnamon and sugar mixture. The cinnamon, sugar, and butter represent the oils and spices Christ's body was anointed in upon burial. 


    3. Lay the marshmallow on the dough and carefully wrap it around the marshmallow


    4. Make sure all seams are pinched together well (Otherwise the marshmallow will ooze out of the seams)


    5. Bake according to package directions 

    6. Cool

    7. Break open the tomb and the body of Christ is no longer there! 


    This was a fun time for us to talk about the resurrection story with our kids. As I was explaining the tomb to them, Luke said, "They said that at school." He remembered! 
    Have fun making your own Resurrection Rolls this Easter! 


    .....day 238 of a year of writing.....

    Sinful Saturday Snack

    Friday, March 23, 2012


    I know it's not Saturday yet, but you'll definitely want to try this one out tomorrow!

    This week has been an interesting one around here. My mom and my best friend and her husband and their little boy were all here this week. I love having a full house, but it meant that I got very little done work wise. (Which is good for me every once in a while.)

    We are also seriously considering making an offer on a house next week as well, which means that our house will have to go on the market. So, today I started making lists of all the areas in my house I need to de-clutter.....which is basically every part of my house!

    Oh well. There is always work to be done around here. My mom and I spent two hours after dinner tonight cleaning out the garage. It looks amazing! Am I the only one whose garage fills up with crap every few months? I can't figure out why it happens, but it does. But I'm glad to report that now my Tahoe is in the garage and everything is clean! Yeah. I love my momma.

    My momma is also the one who highly suggested that we try this Sinful Saturday Snack tonight after all our work.

    This recipe actually comes from our good friend and number one baby sitter. She said her mom didn't like making cookies when she was growing up, so they came up with this recipe. My mom tried it last night, and I think she's addicted to it.

    Here's what you need: Cookie dough, ice cream, and a microwave......

    Start with the cookie dough in a bowl. My momma was generous tonight and put two cookie dough blobs in my bowl. (We used ready to bake dough.)


    Next, pop your bowl of cookie dough in the microwave for thirty seconds.


    Here's what it looks like when it comes out of the microwave.


    Top warm cookie dough with your choice of ice cream. We used good ole' vanilla ice cream. (And I asked for extra ice cream.)


    And the last step: Mix it all together. I know it doesn't look good this way, but it is!


    Weird, I know....but I promise, it's delicious! Try it. Happy Saturday (just a bit early)!

    .....day 224 of a year of writing.....

    Look What I Found!

    Tuesday, November 8, 2011


    I am so excited! I was just introduced to the coolest blog for moms with small kiddos. Thanks Caroyln Jaggers for sharing your find!

    I often have a tough time getting picky eaters in my family to eat. With a two and a four year old, it's sometimes tough to get them to want to eat nutritious food.

    There is the cutest blog called Meet the Dubiens. One of the main things Jill Dubiens blogs about is Fun Food Friday. She has the cutest food ideas for kids. I can't stop browsing her site. Such great ideas for kiddos!

    If you are a mom with small kids, this is a blog you should follow. Here are just a few of her cute ideas for making food fun!


    Did I mention she also posts great ideas for fun crafts? Yes, she does!

    I know you can hardly stand the tease. Go check out her blog and start following her! http://meetthedubiens.blogspot.com.

    All these fun food ideas make me want to homeschool even more! Then we can have FuN FoOd FrIdAy every Friday. Plus, I think sprinkles in yogurt in a cute colorful container is a great way to get kiddos to eat yogurt. I'm so glad Jill is coming up with all these cute and creative food ideas so I can copy them!

    Thanks Jill!  http://meetthedubiens.blogspot.com/

    ....day 88 of a year of writing.....

    A Yummy Crock Pot Find

    Friday, September 16, 2011


    I have a love affair with my crock pot. It gets filled full of deliciousness at least three times a week.

    There is a pretty decent chance that I no longer know how to actually cook.

    Anyway, I am always looking for new crock pot recipes. I have a love/hate relationship with trying new ones just because I never know if they're going to turn out or not.

    But yesterday we made Provincial Chicken, and it was yummy!

    Here's the scoop.


    Into the crock pot goes:
    • 4 boneless, skinless chicken breasts
    • 2 15-oz cans diced tomatoes
    • 2 zucchini, diced
    • 1 can cream of chicken soup
    • 2 T balsamic vinegar
    • 1 T dried, minced onion
    • 2 T dried parsley
    • 1 tsp dried basil 
    Combine the above ingredients, cover, and cook on low for 6-8 hours.
    Remove the chicken, cut into bite sized pieces and return to the crock pot.
    Stir in the following ingredients:

    • 1 c. shredded Cheddar cheese
    • 1/2 c. sour cream
    Cover and cook for an additional 15 minutes.

    Serve over cooked bowtie pasta.

    Yummy! My kiddos loved it and so did we. Enjoy!


    On a rather important side note: The recipe called for 10 cans of cream of chicken soup. I misread it and only added one. So really this is two new recipes for you to try. With 10 cans, I'm sure it turns out much different than with just one. It was really good with just one. Take your pick.

    .....day 35 of a year of writing..... 

    Taco Soup!

    Friday, September 2, 2011


    Yep, it's football season, so that means all my fall recipes come out (even if it is 100 degrees outside).

    This recipe is a family favorite and it's super easy! You and your family are sure to fall for it.

    You can make this recipe with either 1-2 pounds of ground beef or 1-2 pounds of ground turkey. Tonight I used turkey.

    Here's a list of everything else that you'll need:

    1-2 lbs of ground turkey or beef
    1 chopped yellow onion
    1 small package taco seasoning
    1 small package ranch dressing mix
    3 cans stewed or diced tomatoes (I prefer diced)
    2 small cans of green chilies
    1 can baby butter beans
    1 can pinto beans
    1 can white hominy
    1 can kidney beans
    (or just 4 total cans of any type of beans you like)
    2 cups water

    You can also add potatoes and corn to the mix as well.
    The soup will be served with the following:
    tortilla chips
    grated cheese
    sour cream

    Step 1:
    Chop the onion and saute over medium heat in extra virgin olive oil.

    Step 2:
    Add the ground beef or turkey and cook over medium heat until cooked through.


    Step 3:
    Add the ranch dressing mix and taco seasoning mix. Stir well.

    Step 4:
    Add the tomatoes and green chilies (undrained).

    Step 5:
    Drain and rinse the cans of veggies and beans. Add to the pot.


    Step 6:
    Add 2 cups of water and bring to a boil. Then reduce heat and let simmer for 30 minutes.


    Step 7:
    Get out the sour cream, cheese, and chips, and eat generously! Enjoy~


    ......Day 21 of a year of writing.....

    Sour Cream Chicken Enchiladas! (For my preggo sister!)

    Monday, May 23, 2011

    Well I am very excited about tomorrow because we're starting Session 1 of our online Chazown experience! It's going to be so much fun! If you're going to join us, in preparation you can go to http://chazown.com/resources and download and print the Chazown Experience Participant Guide.

    But today, it's all about enchiladas! Jacquelyn has been asking me for this recipe since I made it for a get together recently. It's a delicious recipe that I know you'll LOVE!

    I apologize for not having any good pictures. All I have is a picture of a half eaten casserole dish of it. Enjoy!

    Sour Cream Chicken Enchiladas:

    Ingredients:

    • 1 (16 oz) package cream cheese
    • 2 cups sour cream
    • 2 cups chicken (cooked) (I use canned chicken that I toss in a skillet with salt & pepper)
    • 1 small can green chilies
    • 1 small onion (chopped...optional)
    • 1 can cream of chicken soup
    • 1 can Ro-tel
    • 1 package flour or corn tortillas
    • 2 cups Monterey Jack shredded cheese
    • 1 small can black olives (optional)
    • chicken broth 

    1. In large mixing bowl, combine cream cheese, sour cream, green chilies, and onion...mix well
    2. Stir in chicken and 1 cup shredded cheese
    3. Grease a casserole dish
    4. Heat chicken broth in a skillet and dip tortillas in it to soften them (keeps them from cracking in the oven)
    5. Put a large spoonful of chicken mixture on tortilla, roll, and place in dish. 
    6. Mix cream of chicken soup and Ro-tel together. 
    7. Pour above mixture over enchiladas
    8. Sprinkle cheese and olives on top and bake
    350 for about 45 minutes 

    Enjoy~! 


    Delicious Chicken Spaghetti

    Tuesday, May 3, 2011

    You will LOVE this recipe. You might even have one like it, but my kiddos love it! Enjoy!


    So you'll need everything you see above:

    • 1 can cream of chicken soup
    • velvetta (I use the 2% kind)
    • 1 onion
    • frozen or fresh chicken (I used tenderloins tonight)
    • celery
    • spaghetti 
    You'll start by placing your fresh or frozen chicken of your choice in a large pot of water. I used about 8 tenderloins. You can also use about 4-6 breasts. Totally up to you. 


    Next, chop up the onions and celery and add them to the pot of water.


    Then you'll let that boil until the chicken is cooked through. Once the chicken is done, remove it from the water and add the spaghetti.


    Follow the directions on the package for cook time on the spaghetti. While the spaghetti is cooking, chop up the chicken and spray a baking dish with Pam.


    Once the spaghetti is cooked, you'll want to drain the pasta and the veggies while reserving some of the liquid.

    Add the pasta, veggies, and chicken to the baking dish.


    Mix in the can of cream of mushroom soup.


    Then add about a cup to a cup and 1/2 of the liquid you saved to the dish.

    Now it's time for the cheese. Tonight I only used 1/2 of the block of velvetta, but there are many times that I have used the whole thing!


    You'll want to chop it into cubes. I did slices tonight because I was lazy, but it didn't melt as well as the cubes did, so I hope you're reading and not just looking at the pictures. 


    Add the cheese to the top of the casserole. You can also add half of the noodle mixture first, then a layer of cheese cubes, then another layer of noodle mixture, and then cheese on top. It's up to you. It would be cheesier that way! 


    Remember, go for cubes, not sticks! Cubes melt better!

    Then into the oven at 350 degrees for about 30 minutes or until it's warm throughout and the cheese is melted. You can also make this up to the point of the cheese; freeze it; then pop it out of the freezer when you need it, add cheese, and into the oven it goes.


    Enjoy! It's like the best mac and cheese ever~!

    Powered by Blogger · Designed by Pish and Posh Designs